How do the skins work?
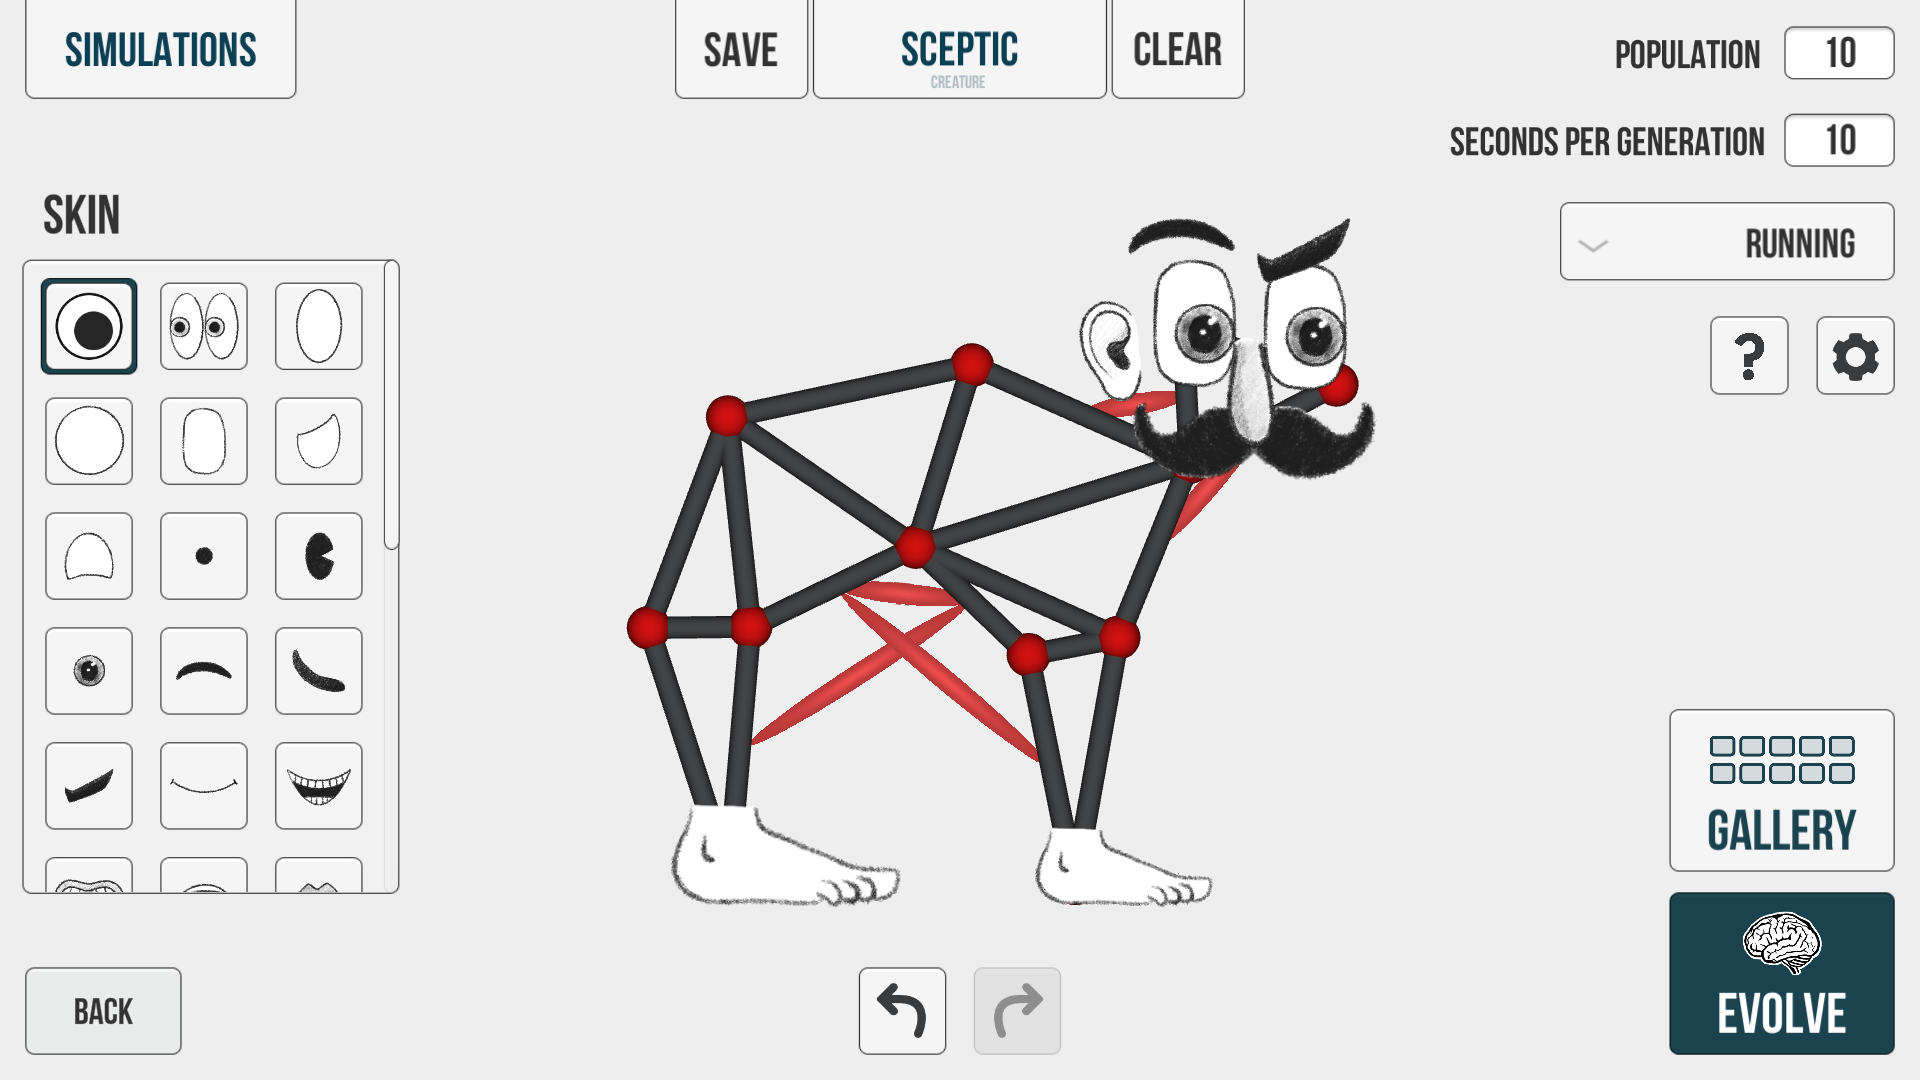
In the creature editor, click the "Skin" button in the bottom left corner to open the skins library. From here, you can select a skin element and attach it to one of the bones of your creature. The skin library contains googly eyes, hand-drawn eyes, mouths, noses, hands, feet and other decorative elements.
If you click somewhere in the creature editor, the skin is automatically attached to the closest bone. You can also click and drag from a specific bone to have more control over which exact bone the new skin element should attach you. When you are first placing a skin element or are later moving it with the "Move" tool, a dotted line shows you which bone it is attached to. If the skin is attached to the wrong bone, delete it and attach a new skin to the correct bone.
To change the size and rotation of a skin element, select the "Move" tool and then click on the skin element you want to modify. You can then use the handles to resize and rotate the skin.
To change whether a skin element should appear in front of or behind other elements, select it with the "Move" or the "Select" tool, click the button at the bottom with the three dots and then use the "Bring Forward" and "Send Backward" buttons to change the order.
Note that skins are purely cosmetic and do not affect the behavior of the creature or the simulation in any way. They can be used to create unique appearances and add facial expressions to your creatures, but they will not change how the creatures interact with the environment or perform tasks.